Bridal Makeup How-To
So this weekend I had the opportunity to fly to Ohio for a very special wedding. Kate Boyle [and her entire family] have been super close friends for a long time, and I couldn't have been more excited to celebrate her wedding weekend! Not only that butttttt I also had the pleasure of painting her gorgeous face with makeup on the big day. #PRESSURE - YES, lots of pressure. I mean this is only one of the biggest days of a girls life. These pics will live on in photo albums, videos, and now instagram foreverrrrrrrrrr.
Kate was stunning to begin with, so honestly it wasn't difficult to enhance her gorgeous features - but I had so much fun doing it. Here's a breakdown of what I used. Think of it as my own lil "paint by numbers." LOL
* SCROLL TO THE END OF EACH SECTION TO SHOP THE PRODUCTS*
SKIN:
1: Make Up For Ever HD Foundation | 125
This is a great full coverage foundation that works well on all skin types. I used a beauty blender and applied it all over her face and down her neck.
2. NARS Concealer | Custard
This is my favorite under eye concealer. It's got a good amount of moisture to it, so it won't dry out your under eye area and it's very full coverage so it can tackle the darkest of circles.
3. Physicians Formula Bronze Booster | Medium to Dark
My go-to bronzer. Love this stuff, and you can purchase it at your local drug store usually. I applied it around the edges of her face, under her cheekbones and down the sides of her nose as a contour.
4. Mac Peachykeen Blush
Whenever I want to add just a hint of a peachy glow, this is one of the first blushes I go to. Peachykeen works with most skin types because it's not a harsh peach, but more of a pinky peach. I love the subtle color that it adds to the balls of her cheeks.
*SHOP THE PRODUCTS*
EYES:
1: Stila Metallic Gilded Gold Pot
This is my latest obsession. I love this magnificent metals line so much I am going to have to do a video/tutorial featuring them specifically. I applied the sparkle to the lid of her eye, being careful not to carry it up into the crease.
2. Mac Eyeshadow in Mulch
In her crease I used Mac shadow in Mulch. This is one of those colors I always have with me because it's a really great neutral brown. It's not too warm toned, and not too cool toned - so it works with almost any color you pair it with. It also has a nice sheen to it, it's not glittery at all, more of a soft shimmer. I also took a bit of this shadow and applied it just underneath her lower lash line, creating a very soft smokey look.
3. Mac Eyeshadow in Motif
Okay, so this color by Mac is the single most used item in my makeup arsenal. In the pod, this color appears to be yellowish/orangey. When you apply it, it's very different. This is the color I use to blend all the other layers on the eye. I start applying Motif just below my brow, and then blend it down on top of whatever color is in my crease. Basically it warms everything up and adds a layer of iridescent almost pinkish sheen to your shadow.
4. L'oreal Voluminous Smoldering Liner
When it came to liner, I didn't want Kate to have a harsh line, so I went with L'oreal Voluminous Smouldering liner - something I could smudge out and soften a bit.
5. Lashes
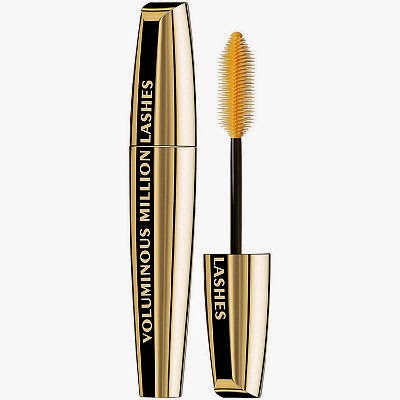
I started with a couple layers of L'oreal Voluminous mascara in blackest black. Kate's lashes were so long already so I didn't want to add anything too crazy to them, but I did want a bit more volume towards the ends so I went with my fav drug store lashes by Kiss. They're made of 100% human hair so they won't give you that plastic-y look and they're fairly easy to apply.
*SHOP THE PRODUCTS*
LIPS:
MAC liner in Oak | Smashbox Nylon Nude Lipstick
I mean does this girl have gorgeous lips or what?!?! GAHHHH they're like the perfect shape already. I simply lined them and then applied the lipstick and called it a day!


123 comments: